1.8 KiB
| title | order |
|---|---|
| Setting up the development environment | 100 |
Already did the Getting started tutorial?
If you already set up the FreeSewing development environment and created a pattern, you can use that pattern and skip these steps. You can move on to Your first part.
Open a terminal and enter the following command:
npx create-freesewing-pattern
This will load a few dependencies, and then ask you the following questions:
- Language: Use the arrow keys to select the language of your choice
- Pattern name: Enter
tutorial - description: Enter
The FreeSewing tutorial - Pattern type: Use the arrow key to select
Pattern - Department: Use the arrow keys to select
Accessories - Author: Enter your GitHub username
- GitHub repository: This will be prefilled for you, so just hit Enter
- Package manager: Use the arrow to choose. Pick
npmif you're not sure.
After you've answered these questions, the default template will be copied, after which all dependencies will be installed.
This will take a few minutes because we're loading some software for your development environment.
When it's ready, enter the directory that was just created for our tutorial pattern and navigate to the example subfolder. There, start the development environment:
cd tutorial/example
npm start
Or if you chose to use Yarn as package manager:
cd tutorial/example
yarn start
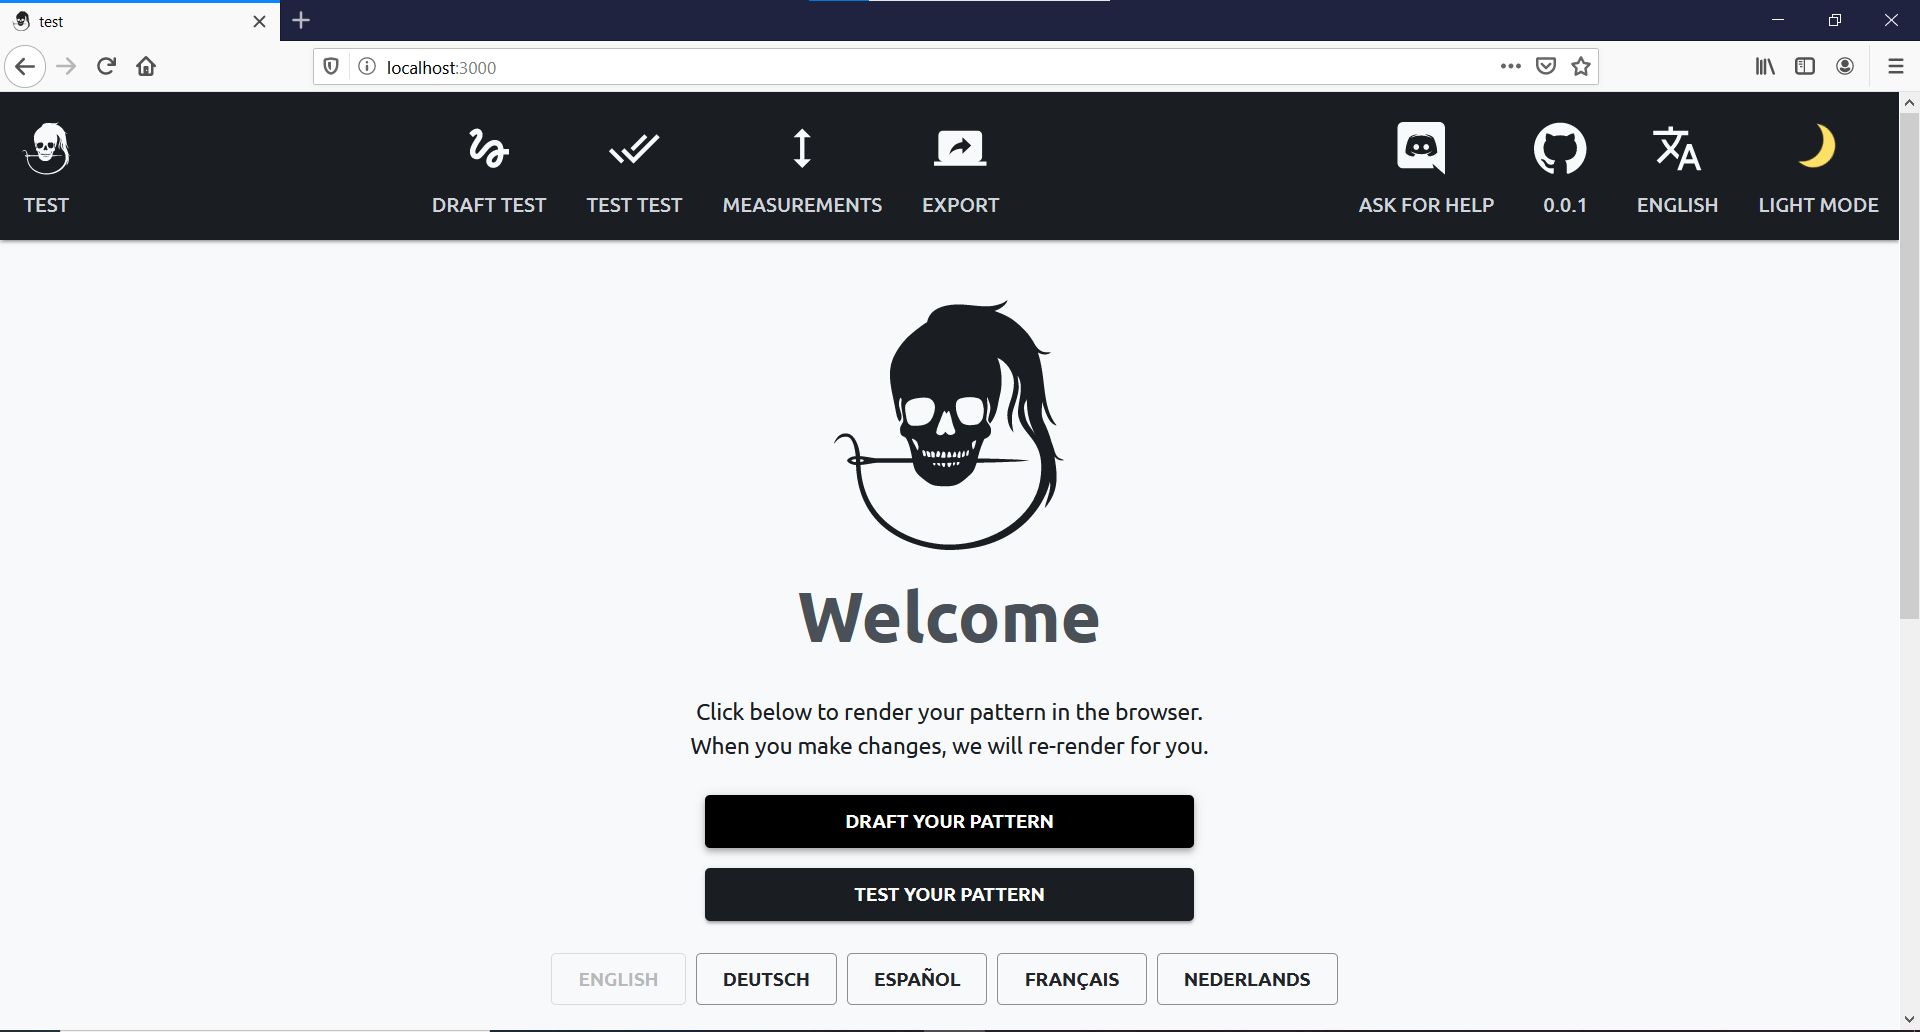
If all goes well, your browser will open and show the following landing page:
Need help?
If you run into any issues, join our chatroom and we'll figure it out together.